

Another scarf that I saw in Pinterest struck me and feel in love with it. I got some ideato Desiree of Suddenly Found here but I made few changes that I think it would be easy for me.
 Here's how I did it.
My fabric is a jersey knit that is 72 inches in length but I cut it to 62 inches (to create a about 30 inches loops). Set aside the remaining. For this project you will need about 45 inches width. (It's up to you if you want to lessen the measurement the fabric.)
First cut the fabric into seven parts. The first measurement (from left) is 4 inches (make 3 pieces), the middle is 6 inches (make 3 pieces also), and the last fabric is 14 inches (just one piece).

Gather the first three cut fabrics. Mark both end of each fabric with I, II, III. Why? So you can be able to know which one is end of which. (See below photo)

Tie together to a post or hook. Start braiding.

Once done, tie the end with a small piece of extra fabric or anything that will secure the braided fabrics.

Do the same in the next three pieces of 6 inches fabrics. Keep both end tied. Locate the same marked numbers (as seen in the second photo above).
Sew both ends. Do the same for the other two (As shown below).

Remove the tie on both ends and start braiding again for the remaining fabric (see photo below for illustration).

Once braiding is done, insert a piece of fabric (see photo below) to secure the braid and tie at least twice. You will end up like this.

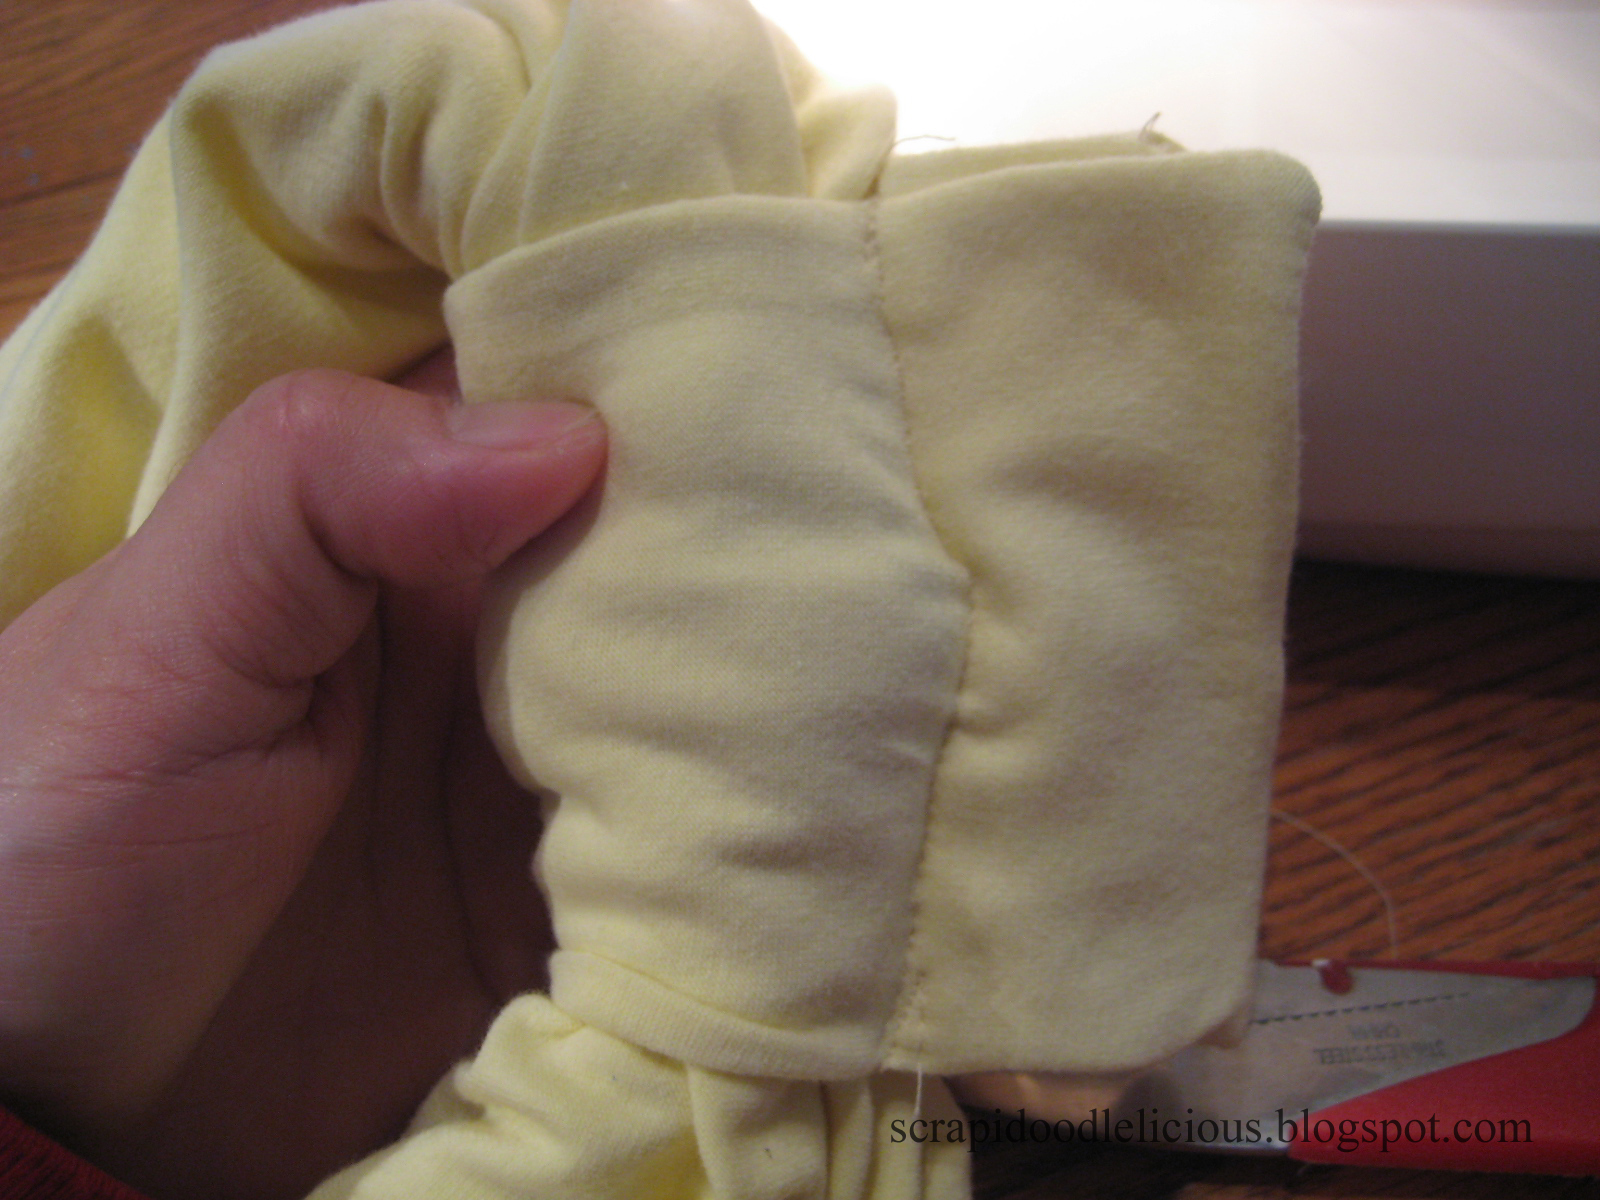
For the 14-inch fabric just sew both ends to create a loop(sorry I forgot to take picture).
To bundle the two braids and the 14 inch fabric, cut a rectangular shape on the remaining fabric and sew the two shorter ends (I wasted some thread for the longer end.). Then flip your sewn fabric to show the "right" side.

Gather the three and bundle it with the small piece of fabric (above) and sew as close as possible to the three (see below).
Cut the excess fabric. (This is the part why I wasted thread because I sew the large end shown above but then I cut that excess end. Lol!)

Flip the fabric so it will not show the "wrong" side.

Here's what I mean.

Here's when it's just hanging in my shoulder.

Here's when it's loop twice.

If you have question, please feel free to email or leave in the comment. Thanks for viewing!
And another topic, don't miss out! I am hosting a giveaway. Enter for a chance to win a My Memories Suite v4 Software. A great digital scrapbooking software. Here's the link.
All this took place to fulfill what the Lord had said through the prophet:
”The virgin will be with child and will give birth to a son,
and they will call him Immanuel”-- which means, “God with us.”
- Matthew 18:22-23

Linking to:


Very cool! And great tutorial! Have you linked up with Creative Me Monday? It's open all week long and I'd love to have you! You can link up as many projects as you'd like! The link is:
ReplyDeletehttp://www.thesoutherninstitute.com/2011/12/creative-me-monday.html?utm_source=BP_recent
Hope to see you there!
Cleverly and beautifully done! Well written,too and easy to follow. I will have to try this one out!
ReplyDeletelooks great girl!! thanks for the tutorial!
ReplyDeletexoxo
ash
What a great idea. It looks fabulous.
ReplyDeleteI have a giveaway going on right now WOuld love you to stop by and enter.
Jamie
http://diyhshp.blogspot.com/
This is really pretty!!! Thanks for the tutorial, I'm going to pin this right now :)
ReplyDeleteVery pretty.
ReplyDeleteso pretty. i made something like this last year but i dont know what happend to it. i'm gonna have to try your version!
ReplyDeleteThis is so pretty!
ReplyDeleteGorgeous!I love it!
ReplyDeleteWould you be interested in guest posting? i'd love to have you on my blog someday!
Great job!
Alyssa
YAY! That turned out awesome !!!
ReplyDeleteThis is so cute! I've been looking for an easy tutorial on how to make one of these. Thanks for sharing!
ReplyDeleteMelanie
youmadethat.blogspot.com
Gorgeous! Love it! My favorite is when you wrap it around your neck twice. Great job and thanks so much for linking up to diy diva thursdays this week!
ReplyDeleteThanks for linking up to last week's Tuesday Confessional! You've been featured, so stop by and grab a button. :)
ReplyDeletehttp://www.craftyconfessions.com/2011/12/tuesday-confessional-features-top-10.html
~Macy
that color is gorgeous! thanks for linking up to tip-toe thru tuesday! hope to see you again this week!
ReplyDeleteReally like this! Not the usual scarf - so fun!
ReplyDeleteOMG! This is gorgeous and an wonderful colour too.
ReplyDeleteLooks great!
ReplyDelete